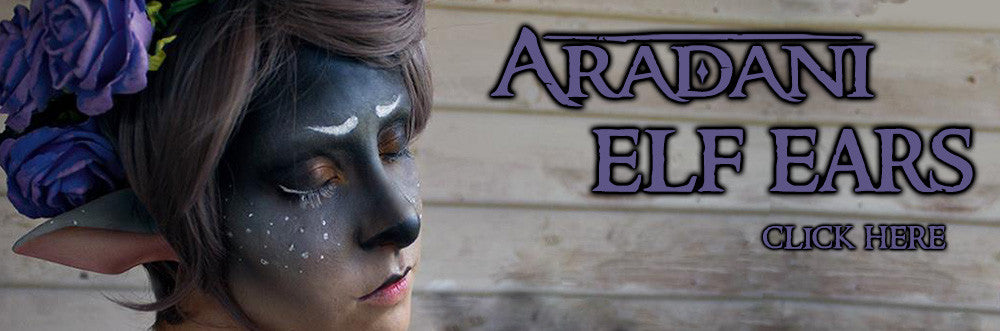
Elf Ears
Anime Elf Ears
Dragon Ears
Dusk Elf Ears
Dwarf Ears
Faun Ears
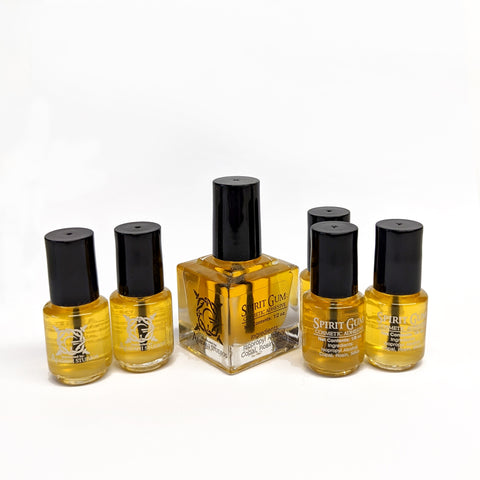
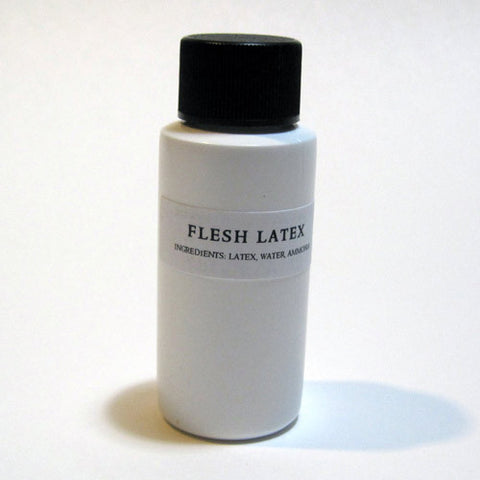
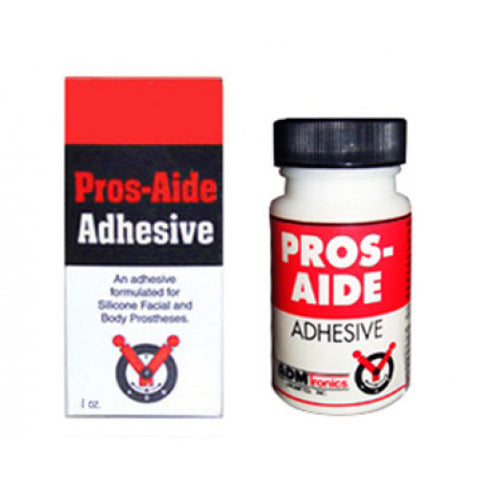
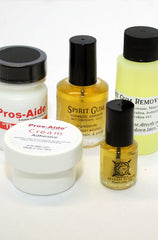
Adhesives & Removers
-Spirit Gum (US Customers ONLY)-
-Spirit Gum Remover-
Flesh Latex
Pros-Aide Adhesive
Pros-Aide Adhesive & Remover Bundle
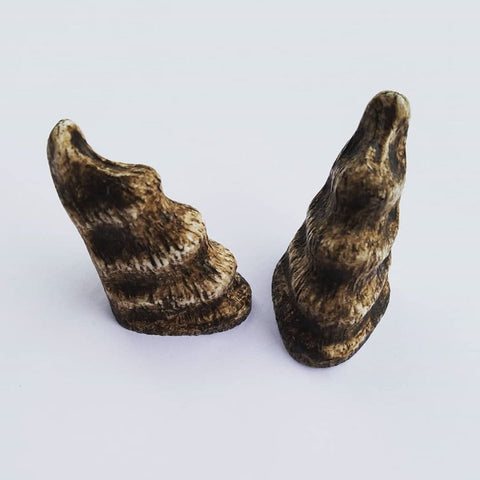
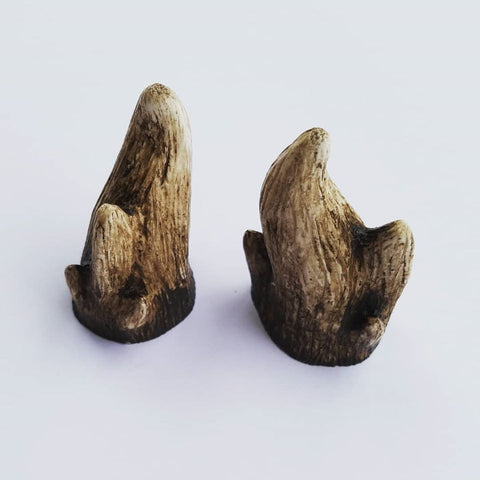
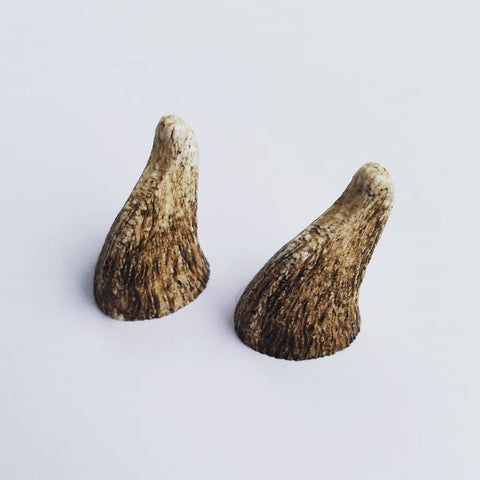
Horns
Aradani Resin Glue-on Horns - Dragon
Aradani Resin Glue-on Horns - Dryad
Aradani Resin Glue-on Horns - Faun
Aradani Resin Glue-on Horns - Large
Aradani Resin Glue-on Horns - Medium
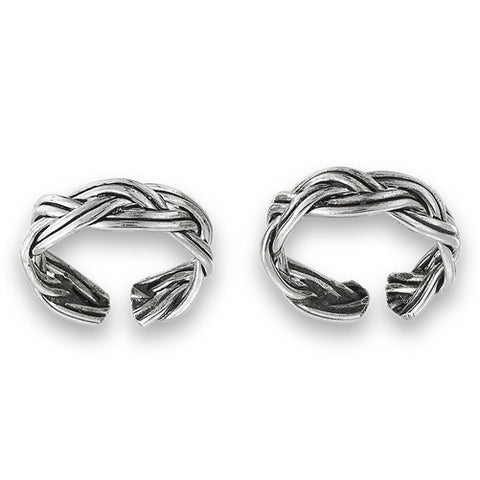
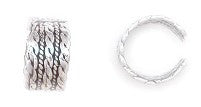
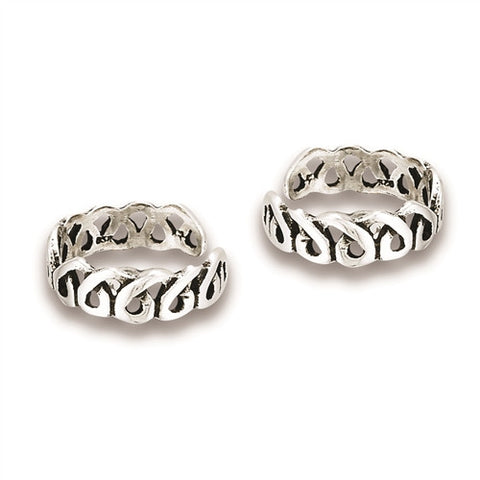
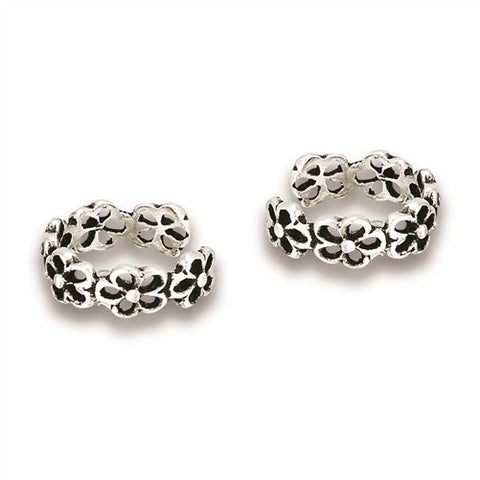
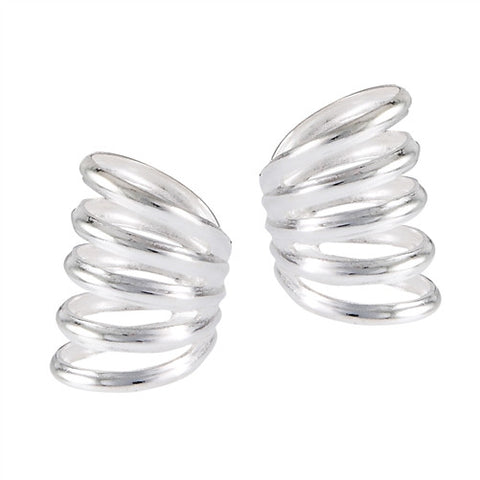
Ear Cuffs
Celtic Ear Cuff
Dwarven Ear Cuff
Elven Knot Ear Cuff
Fairy Ear Cuff
Five Ring Ear Cuff